

Neem oil is a time-honored ingredient in natural skincare, known for its earthy aroma and deep-cleansing properties. When used in soap, neem oil offers a plant-based alternative to commercial skincare products, making it a popular choice among those looking to simplify their routines with nature-inspired ingredients.
If you're interested in making your own soap at home, this easy neem oil soap recipe is a great place to begin. Whether you're crafting soap for personal use or as part of a small business, this simple guide walks you through the process step-by-step.
Why Use Neem Oil in Soap?
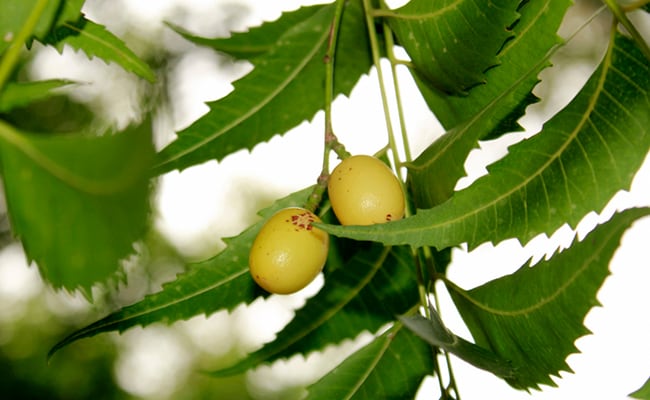
Neem oil is extracted from the seeds of the neem tree (Azadirachta indica). It’s widely used in traditional practices and has made its way into modern skincare products. In cold process soap, neem oil is valued for:
-
Its naturally strong, earthy scent
-
Its ability to support a clearer, more balanced skin surface
-
Its role in creating a rich lather and a firm, long-lasting bar
Due to its strength, neem oil is typically used in moderation, often around 5–10% of a soap formula.
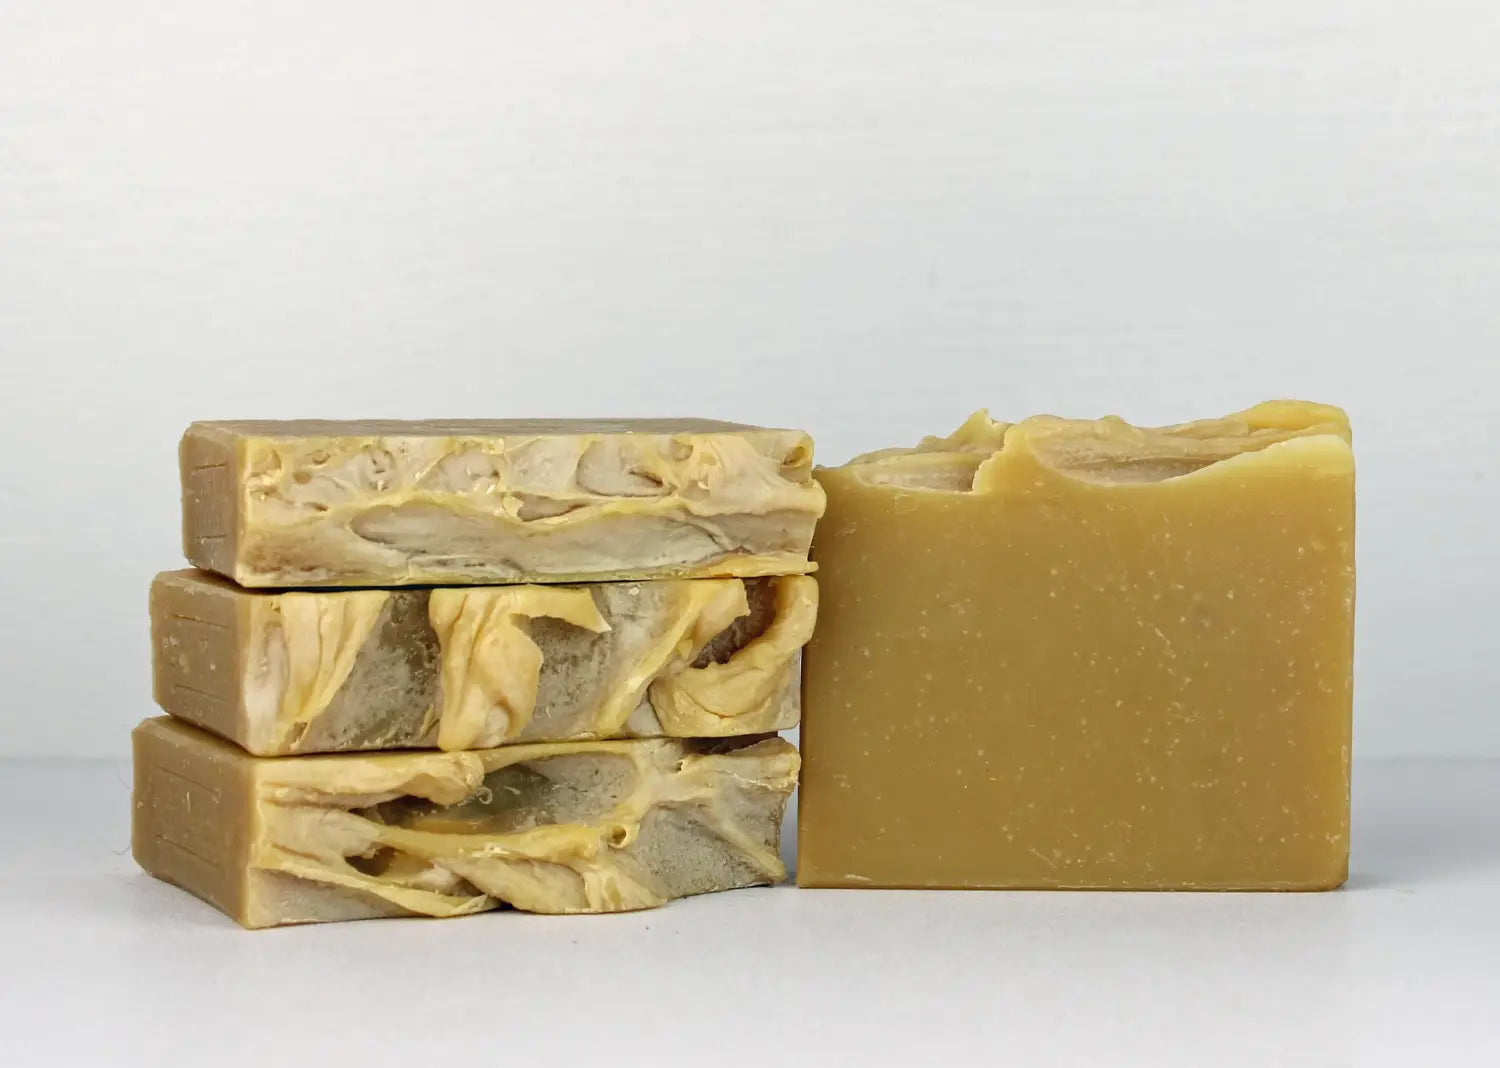
Cold Process Neem Oil Soap Recipe
This recipe is perfect for beginners and creates approximately 6 soap bars.
Ingredients (for 1 kg batch):
-
Neem Oil (cold pressed) – 100g (10%)
-
Olive Oil – 300g
-
Coconut Oil – 250g
-
Palm Oil (sustainably sourced) – 250g
-
Castor Oil – 100g
-
Distilled Water – 380g
-
Sodium Hydroxide (Lye) – 140g
-
Essential oils (optional) – Tea Tree, Lavender, or Eucalyptus
-
Add-ins (optional) – Dried neem leaves, activated charcoal, or oatmeal
Safety First: Always wear gloves, goggles, and work in a well-ventilated area when handling lye.
Tools You’ll Need
-
Digital scale
-
Mixing bowls
-
Immersion blender
-
Soap mold
-
Silicone spatula
-
Thermometer
-
Safety gear
-
Measuring spoons
-
Parchment paper or towel (for insulation)
Instructions
Step 1: Prepare the Lye Solution
In a heatproof container, slowly add lye to the water (never the reverse). Stir until completely dissolved and set aside to cool between 100°F–110°F (38°C–43°C).
Step 2: Melt the Oils
Gently melt the coconut and palm oils over low heat. Once melted, add olive oil, castor oil, and neem oil. Let cool to the same range as the lye solution.
Step 3: Combine Lye and Oils
Pour the cooled lye solution into the oils. Use an immersion blender to mix until you reach “trace”—a pudding-like consistency.
Step 4: Customize Your Soap
At light trace, add essential oils and optional ingredients like dried neem leaves or oatmeal for exfoliation.
Step 5: Pour Into Mold
Carefully pour the soap mixture into your mold. Tap gently to remove air bubbles and smooth the top with a spatula.
Step 6: Insulate and Rest
Cover the mold and insulate it with a towel. Let it sit for 24–48 hours.
Step 7: Unmold and Cure
Once firm, remove the soap from the mold and cut into bars. Place on a drying rack and let cure for 4–6 weeks in a cool, dry area.
Tips for Best Results
-
Neem oil has a strong scent—blend with essential oils to balance the aroma.
-
Always store your soap bars in a dry area to prolong shelf life.
-
Use high-quality, cold pressed neem oil for the most natural outcome.
-
Avoid using too much neem oil (over 15%), as it may affect lather or texture.
Optional Add-Ins for Custom Soap Bars
| Add-In | Effect |
|---|---|
| Activated Charcoal | Adds detox-like effect and visual appeal |
| Aloe Vera Gel | Smooth, hydrating texture |
| Turmeric Powder | Warm color and traditional appeal |
| Ground Oats | Gentle exfoliation |
Final Thoughts
Making neem oil soap at home is a rewarding and creative way to bring natural skincare into your daily life. This easy recipe gives you a solid foundation to craft your own bars—free from synthetic additives and full of rich, earthy goodness. Whether you’re making it for yourself, gifting, or selling, neem oil soap is a beautiful blend of tradition and craftsmanship.